PermalinkAdd a Workspace
PermalinkTable of Contents
PermalinkIntroduction
Although an organization’s teams share the same Kong cluster, it is possible to divide the cluster into logical groups with limited access. These Workspaces provide clearer segmentation of traffic and entities. Each team’s access may be restricted to their own Workspace, supporting the principle of least privilege.
The guide below describes how to create Workspaces in Kong
Manager. As an alternative, if a Super Admin wants to create
a Workspace with the Admin API, it is possible to do so
using the /workspaces/ route.
PermalinkPrerequisites
enforce_rbac = on- Kong Enterprise has started
- Logged in to Kong Manager as a Super Admin
PermalinkVideo Walkthrough
PermalinkStep 1
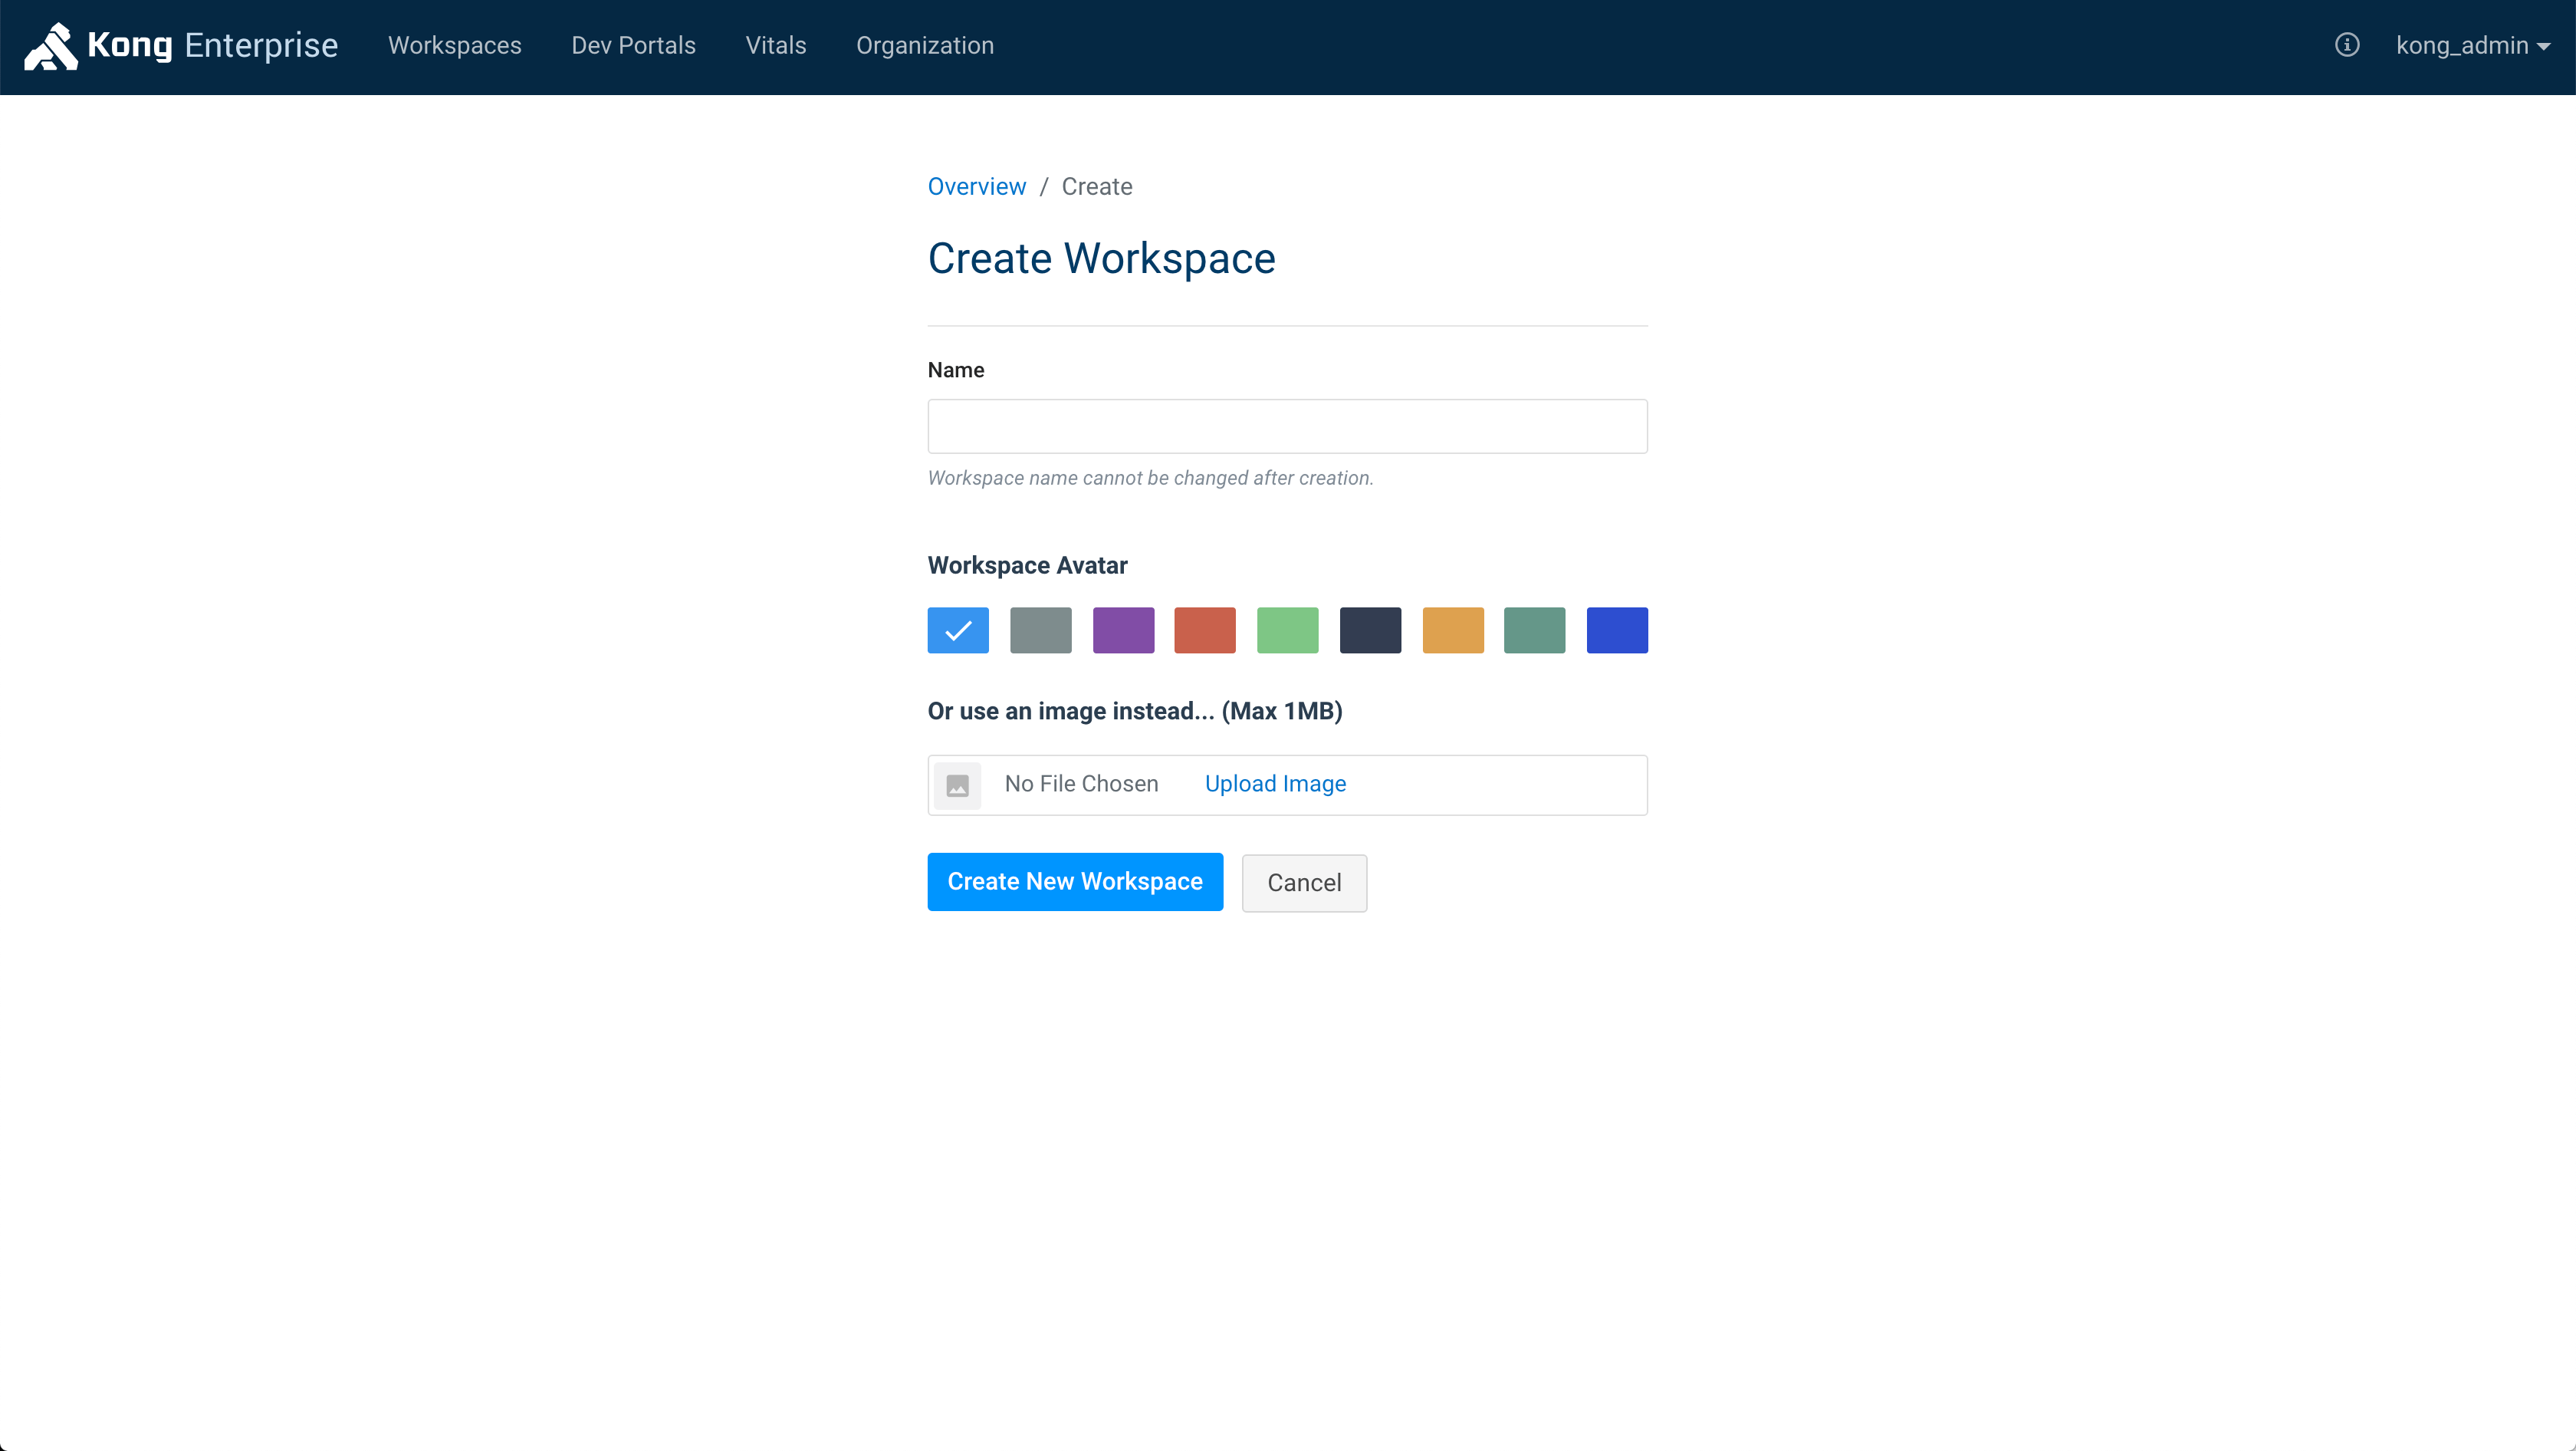
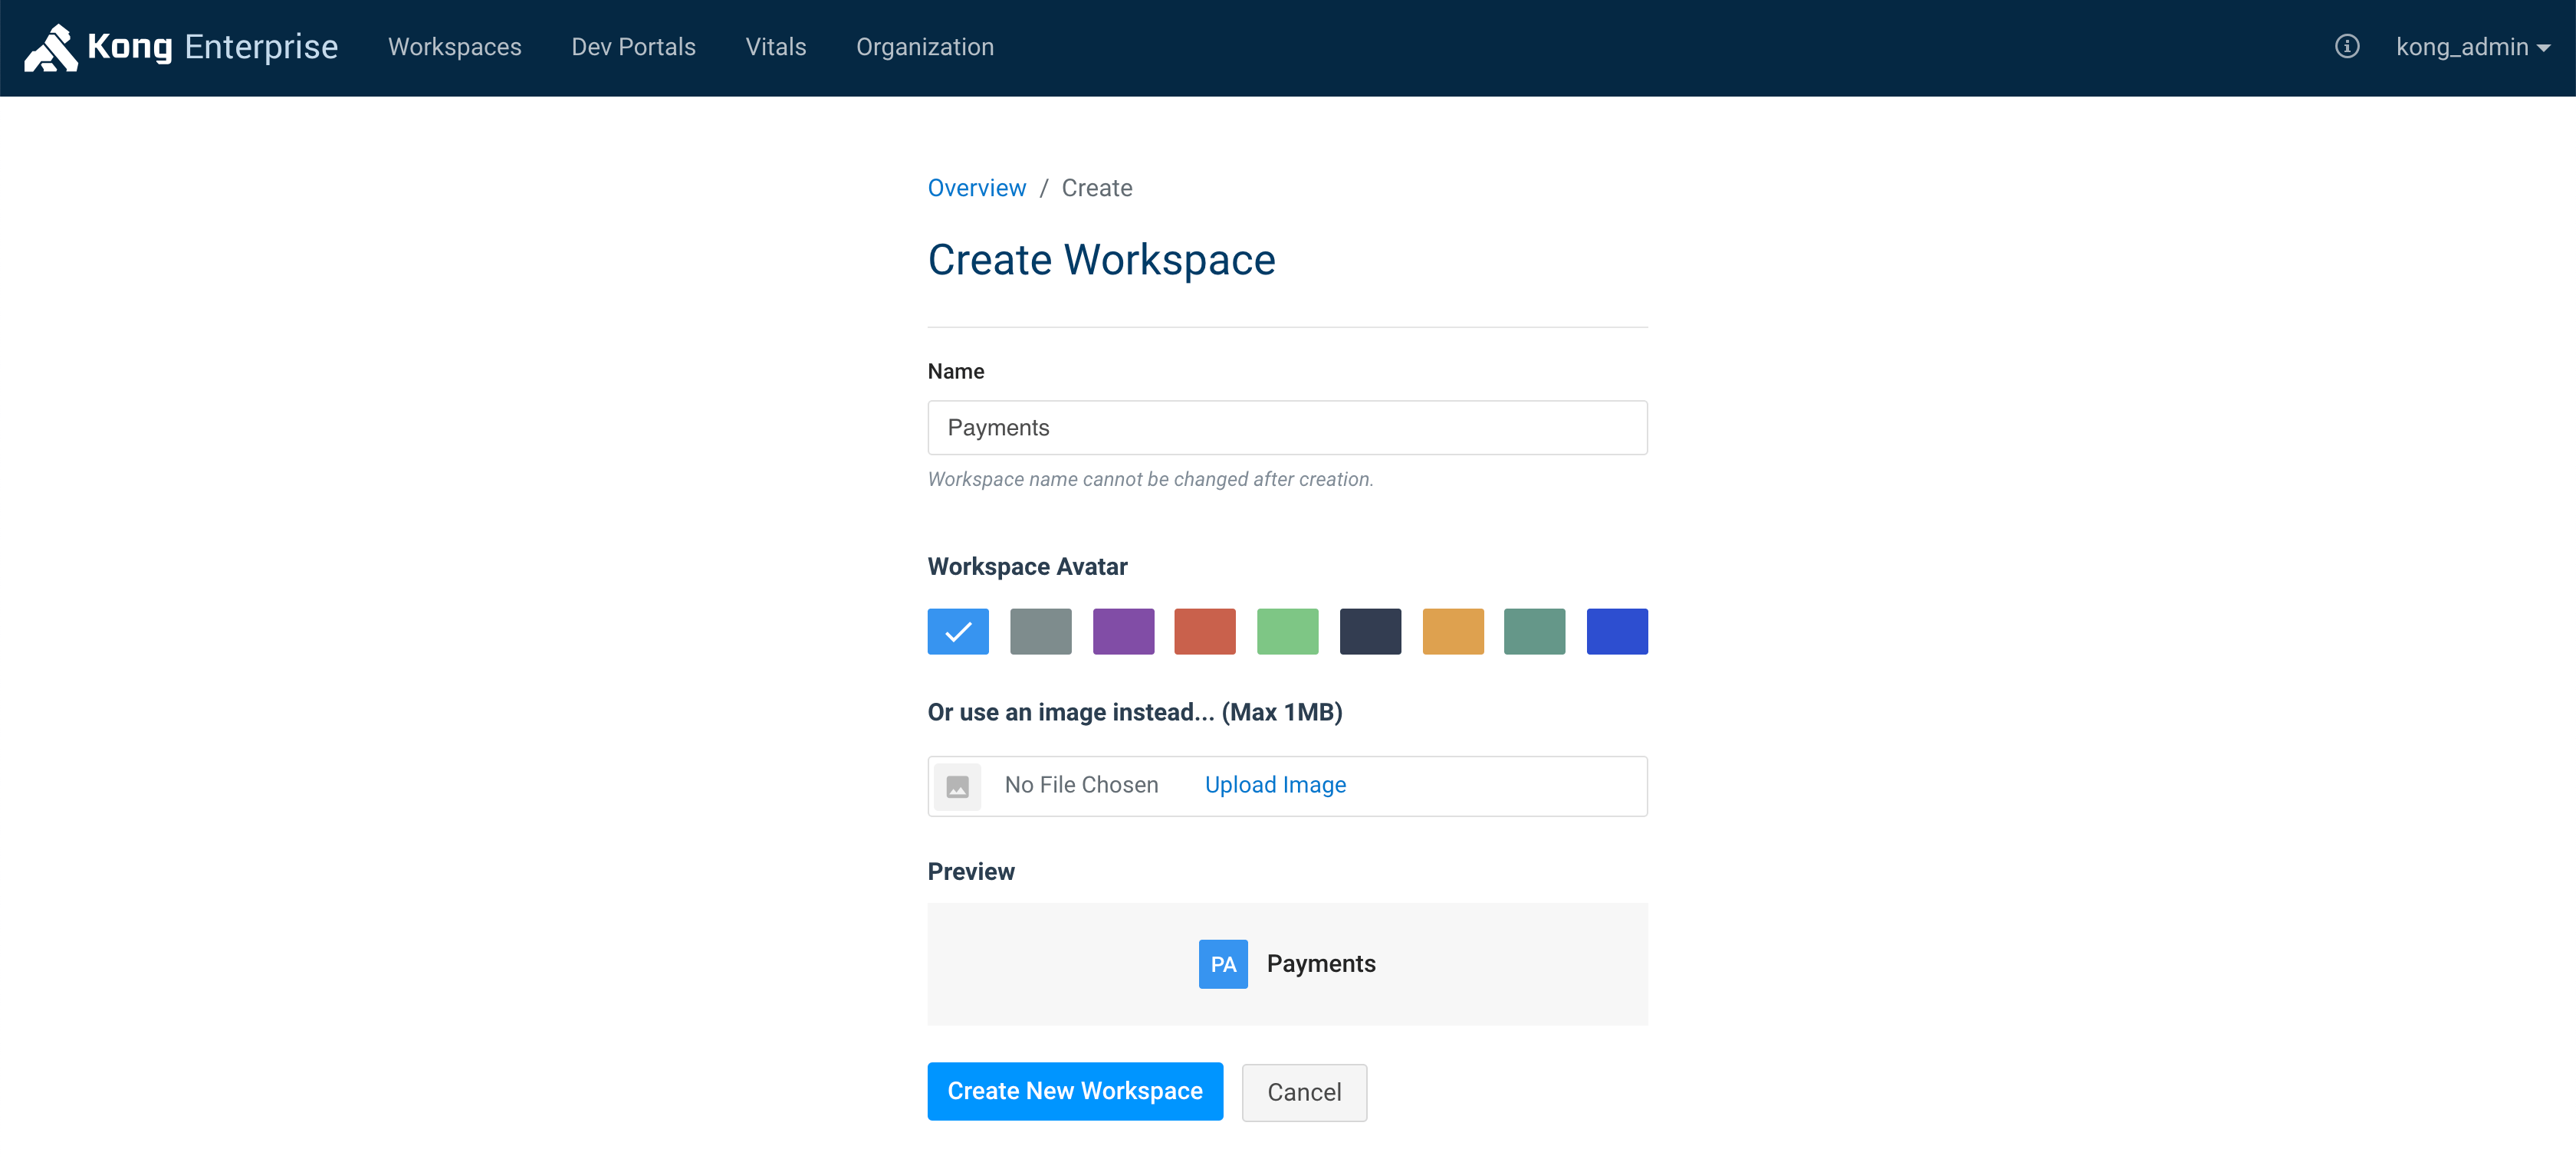
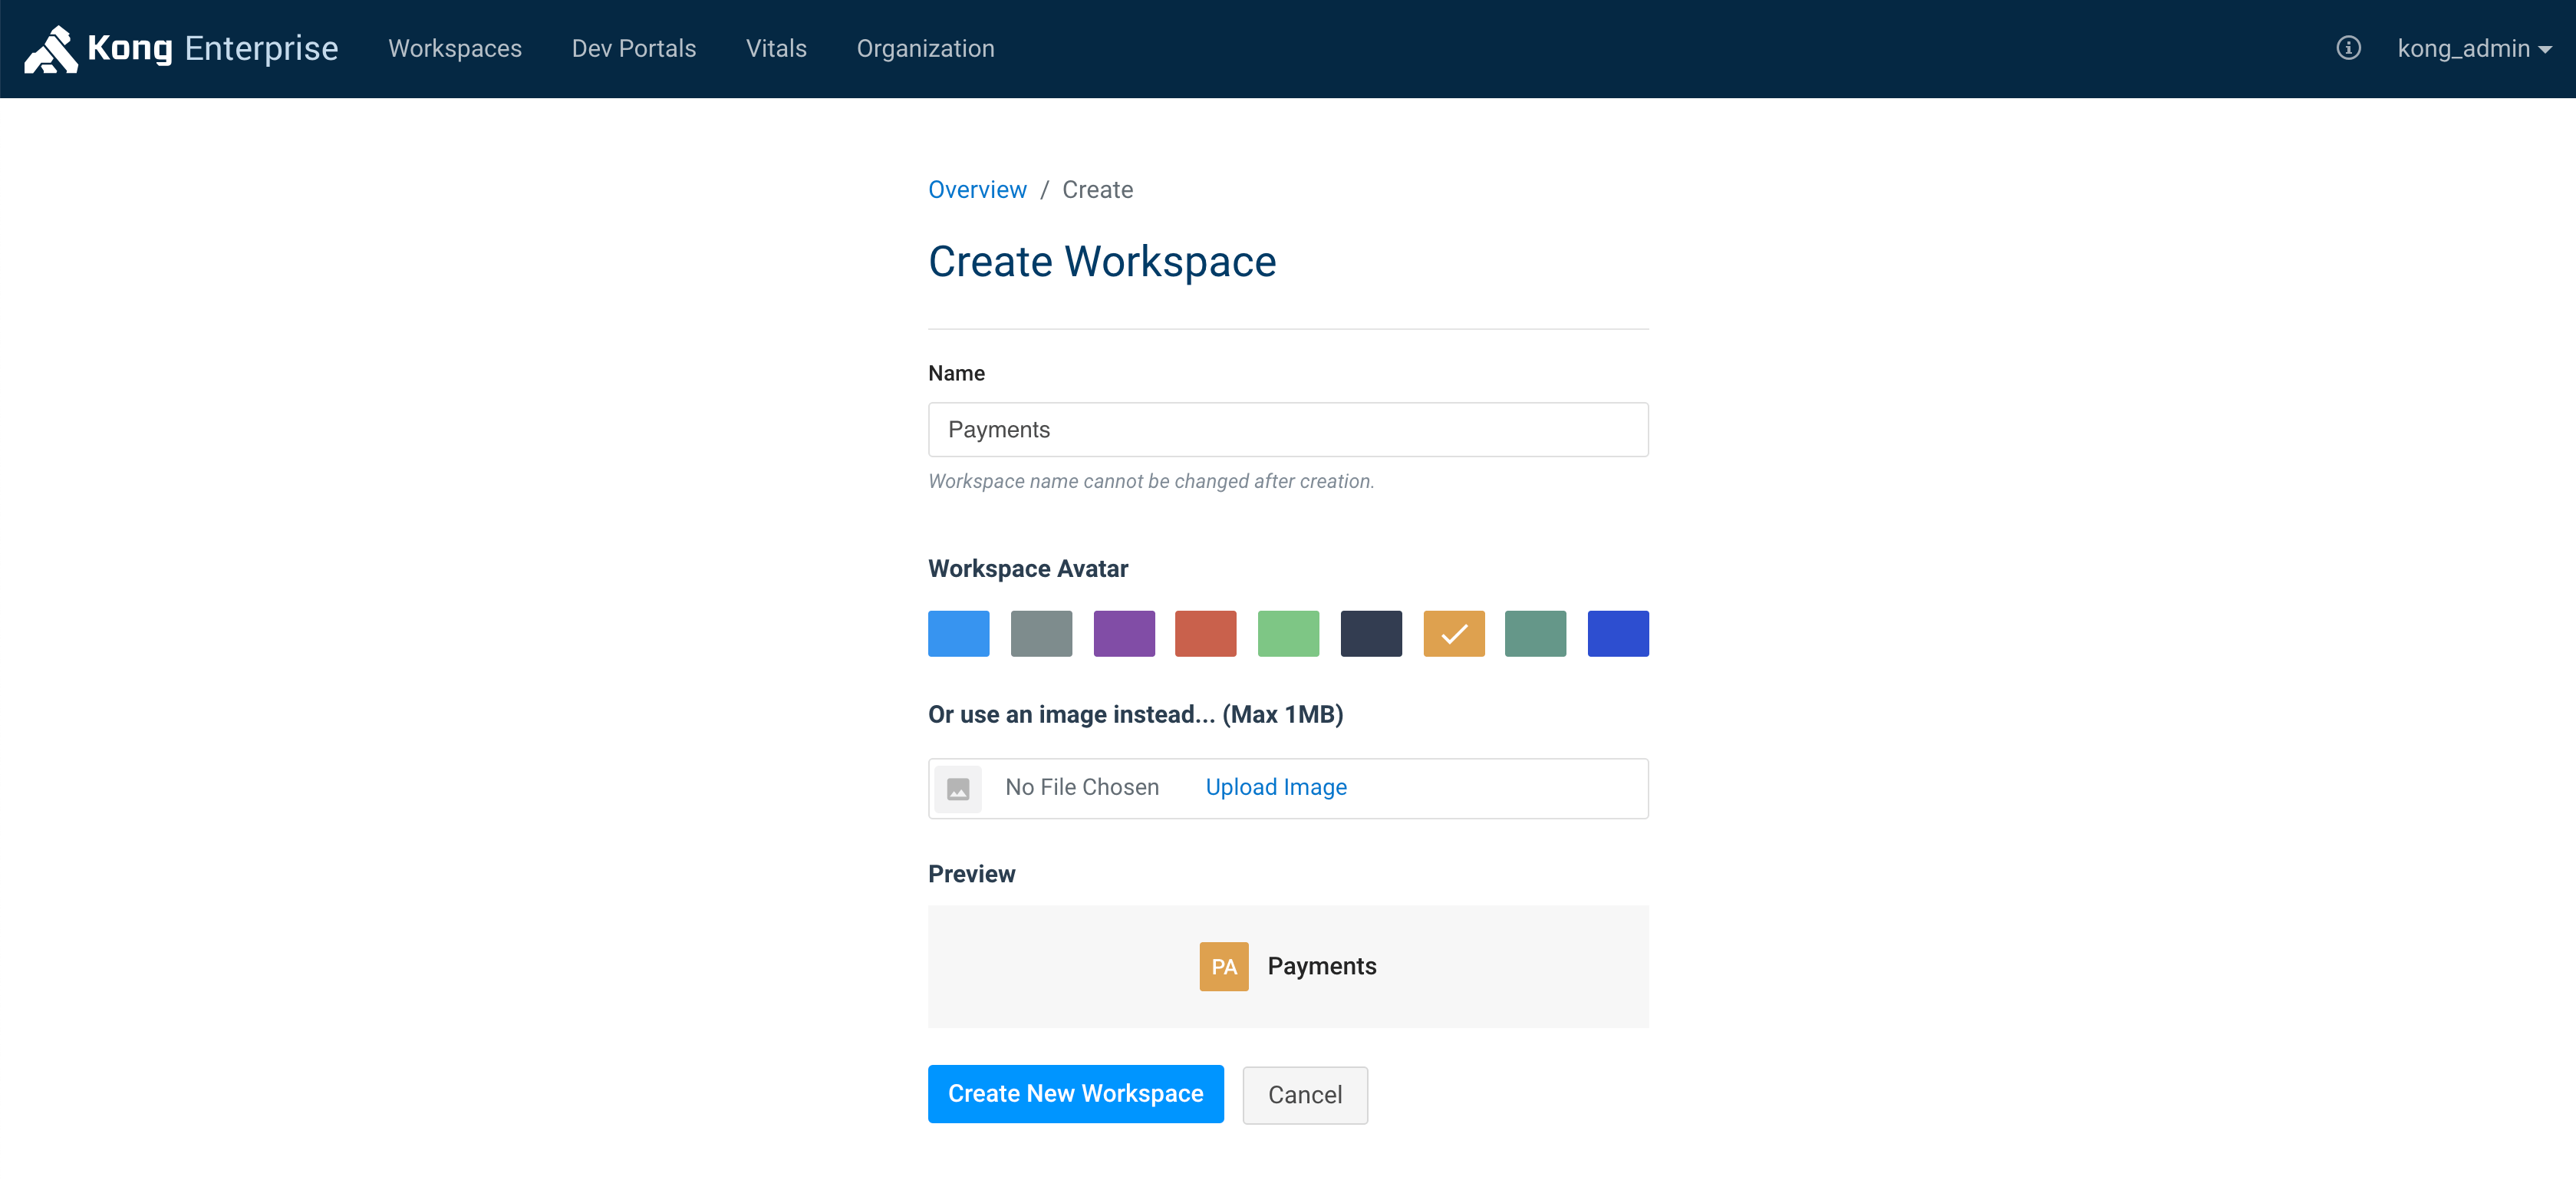
On the Workspaces page, click the New Workspace button at the top right to open the Create Workspace form.
PermalinkStep 2
Name the new Workspace.
⚠️ WARNING: Each Workspace name should be unique, regardless of letter case. For example, naming one Workspace “Payments” and another one “payments” will create two different workspaces that appear identical.
⚠️ WARNING: Do not name Workspaces the same as these major routes in Kong Manager:
- Admins
- APIs
- Certificates
- Consumers
- Plugins
- Portal
- Routes
- Services
- SNIs
- Upstreams
- Vitals
PermalinkStep 3
Select a color or avatar to make each Workspace easier to distinguish, or accept the default color.
PermalinkStep 4
Click the Create New Workspace button.
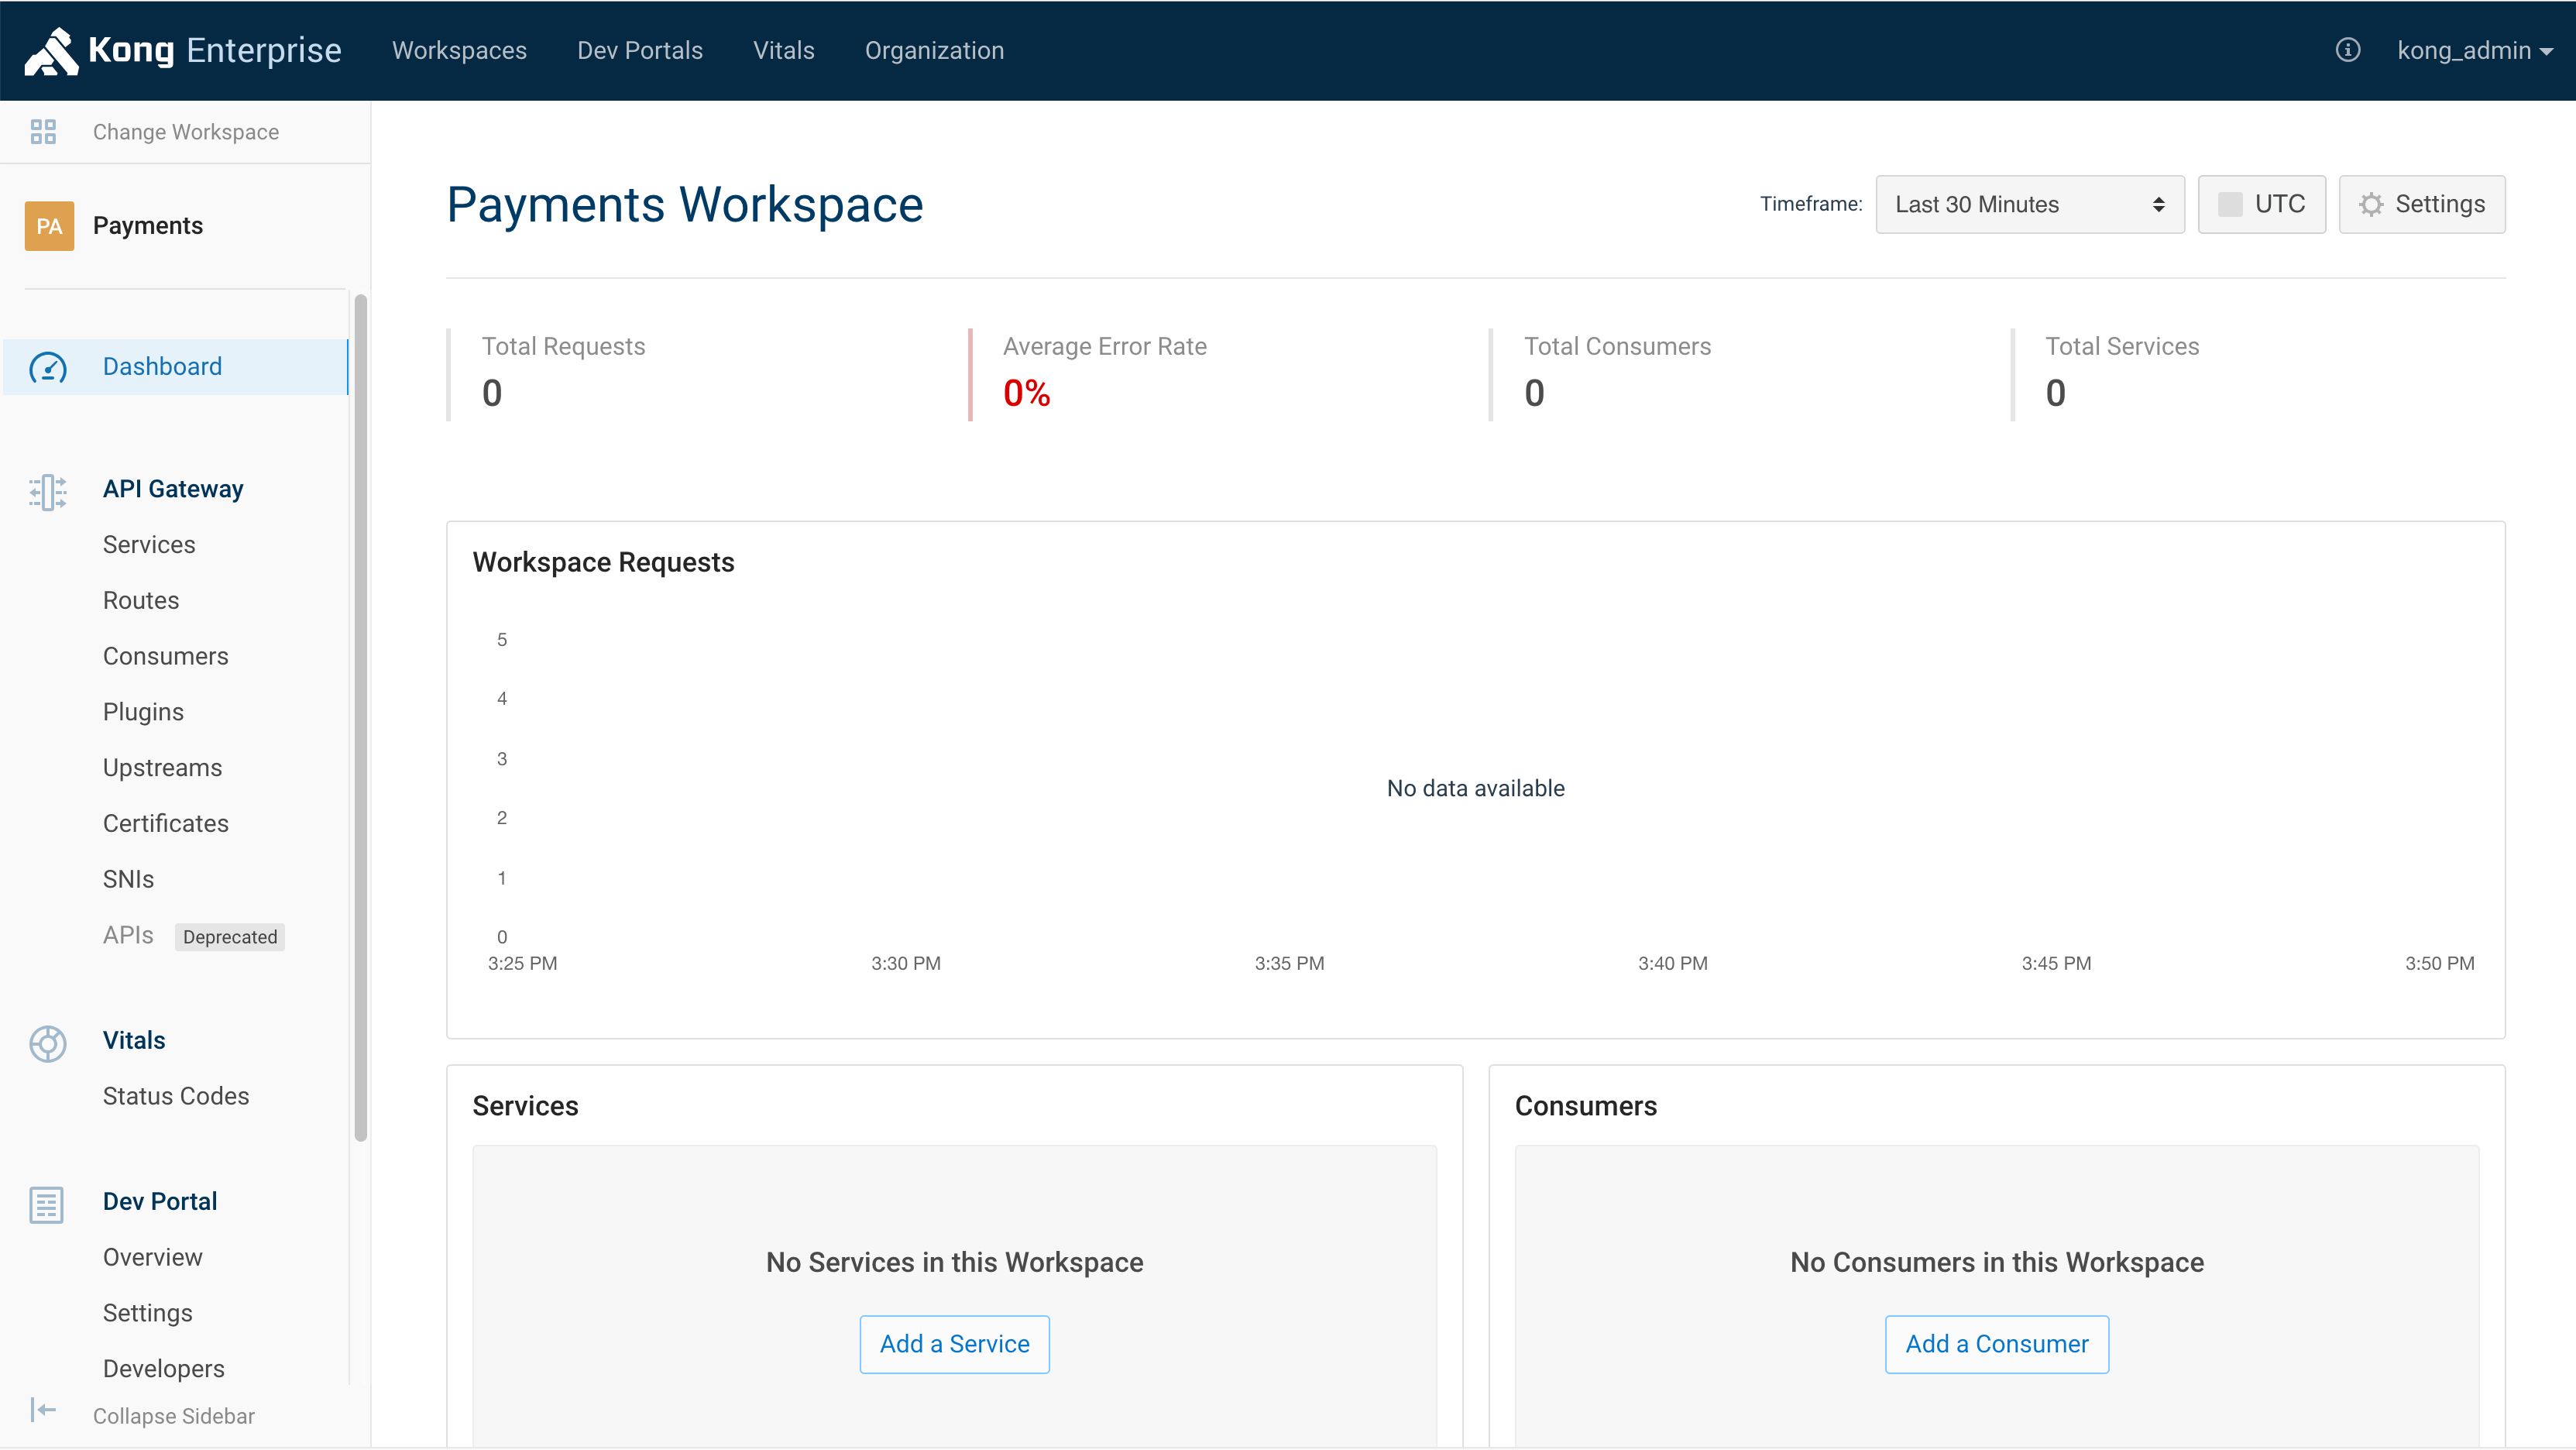
Upon creation, the Workspace’s Dashboard page will appear.
PermalinkStep 5
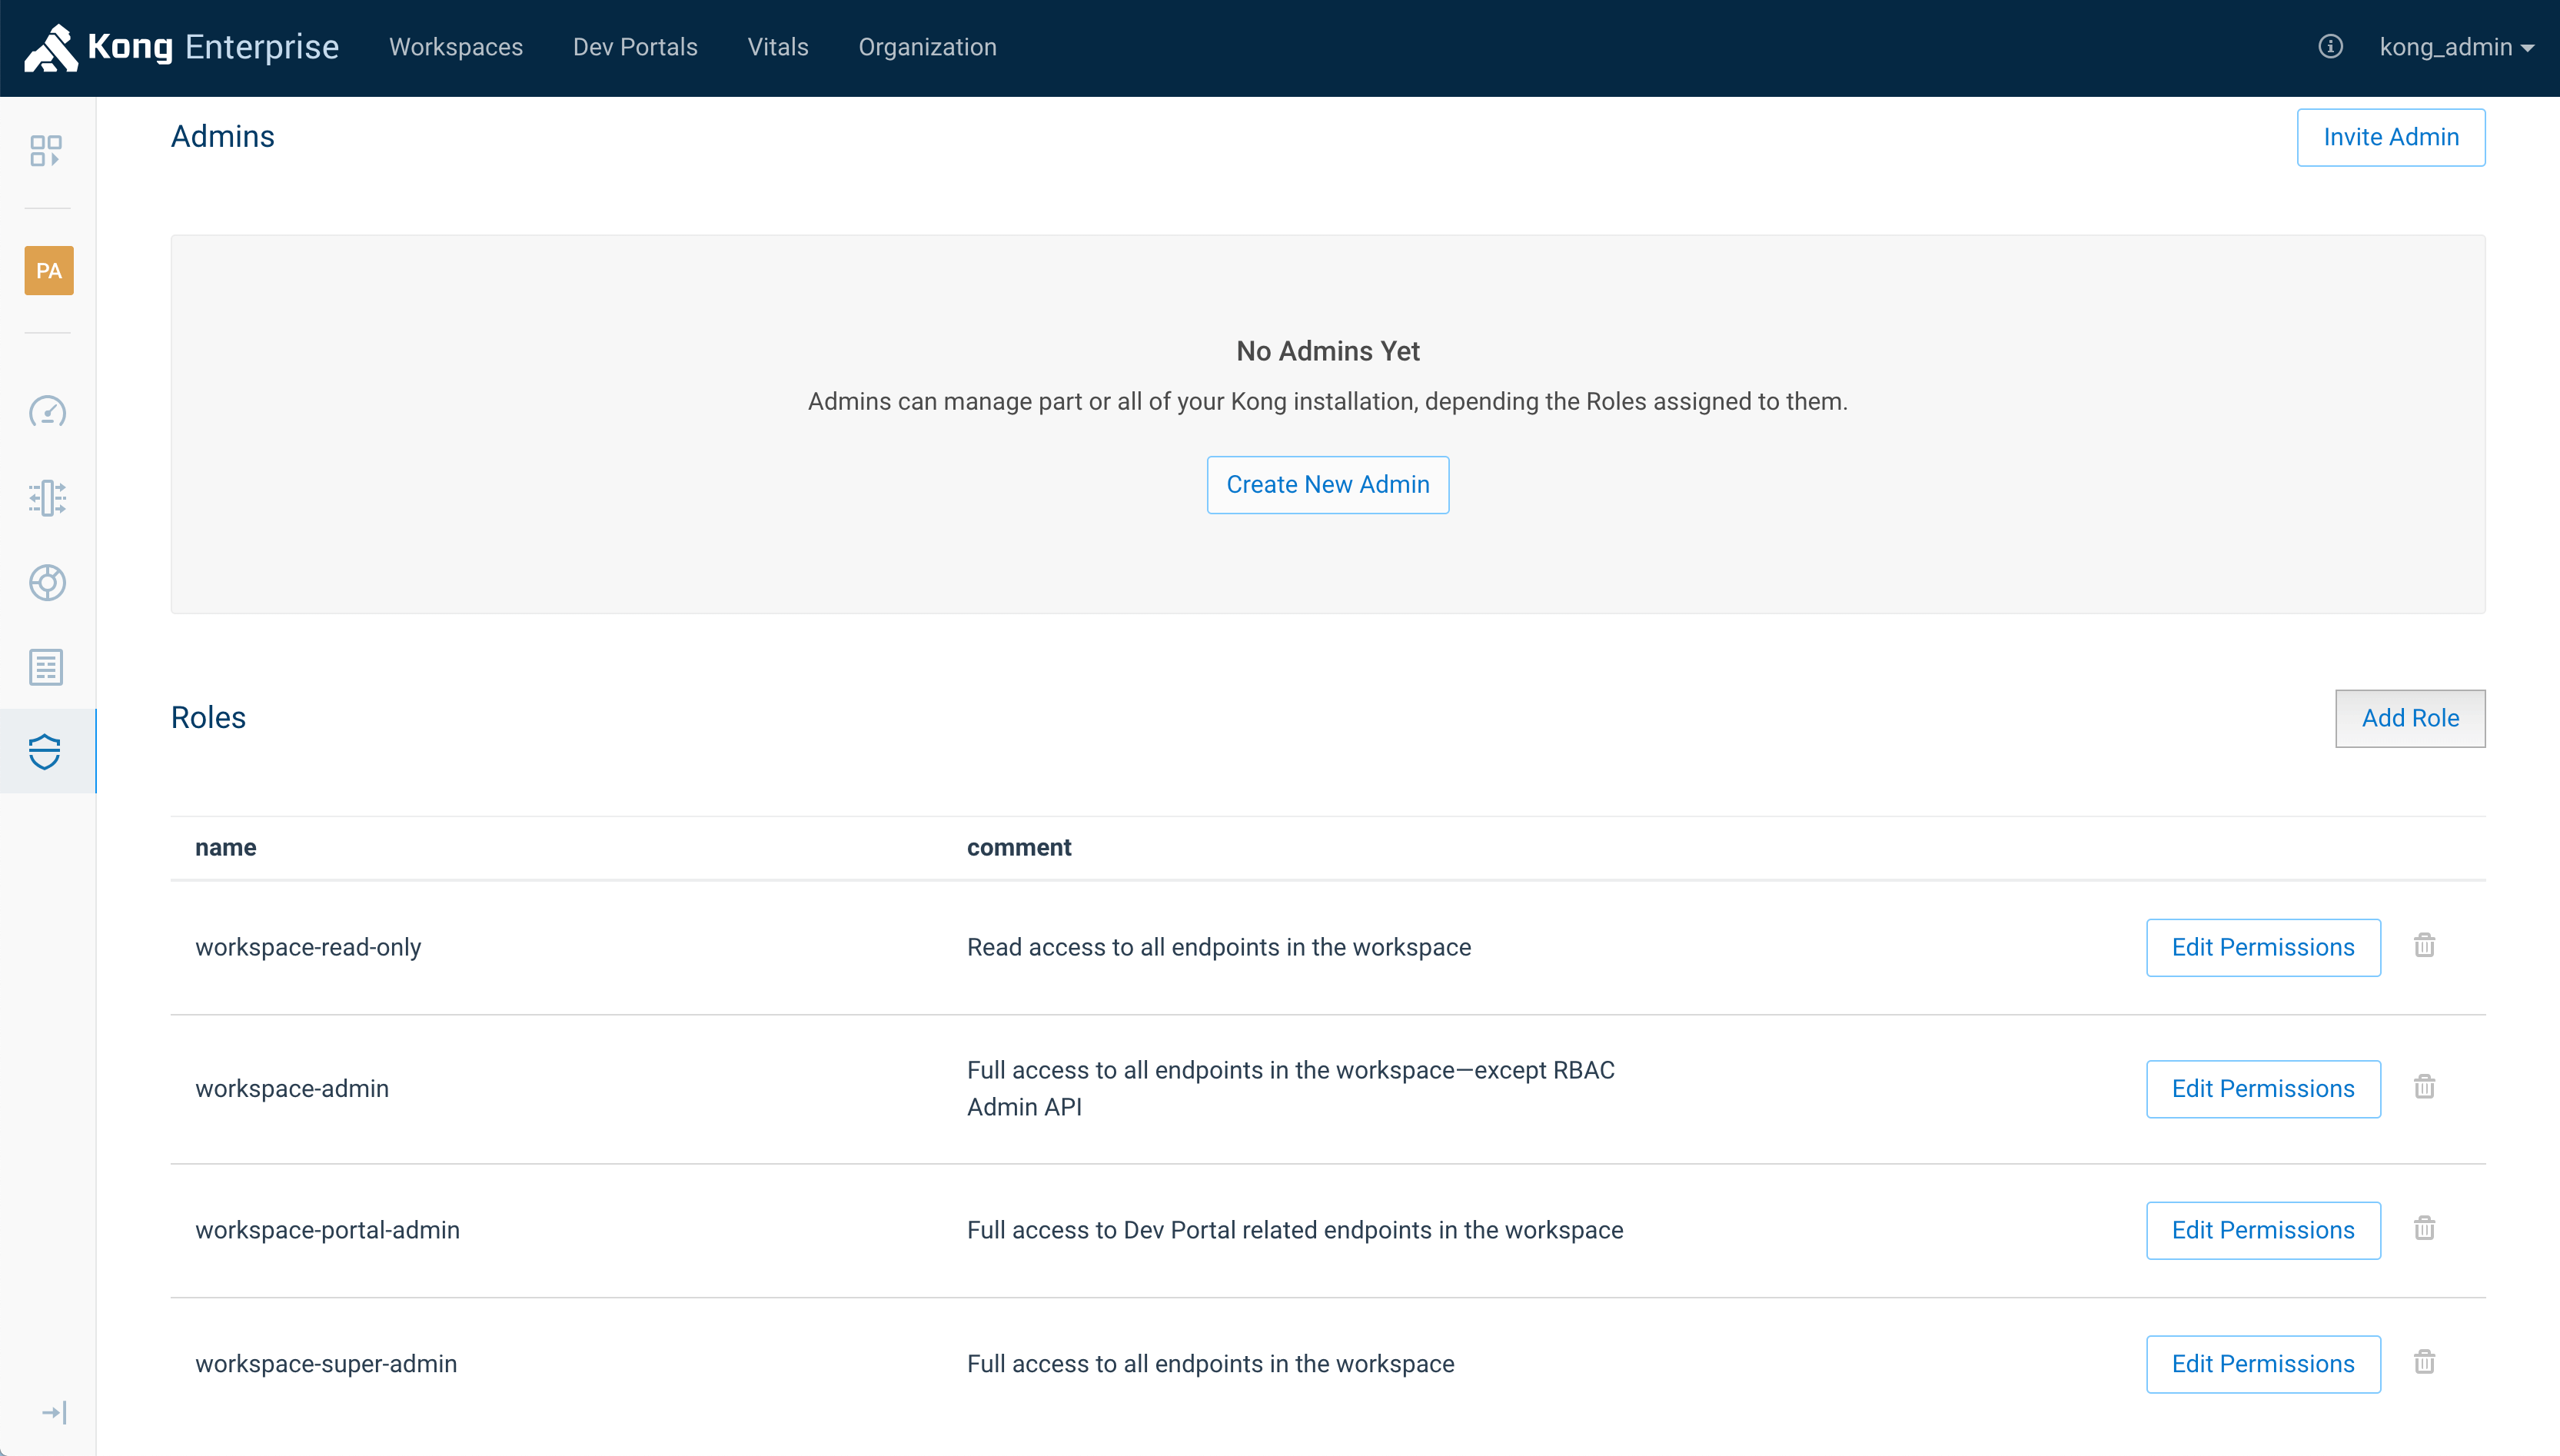
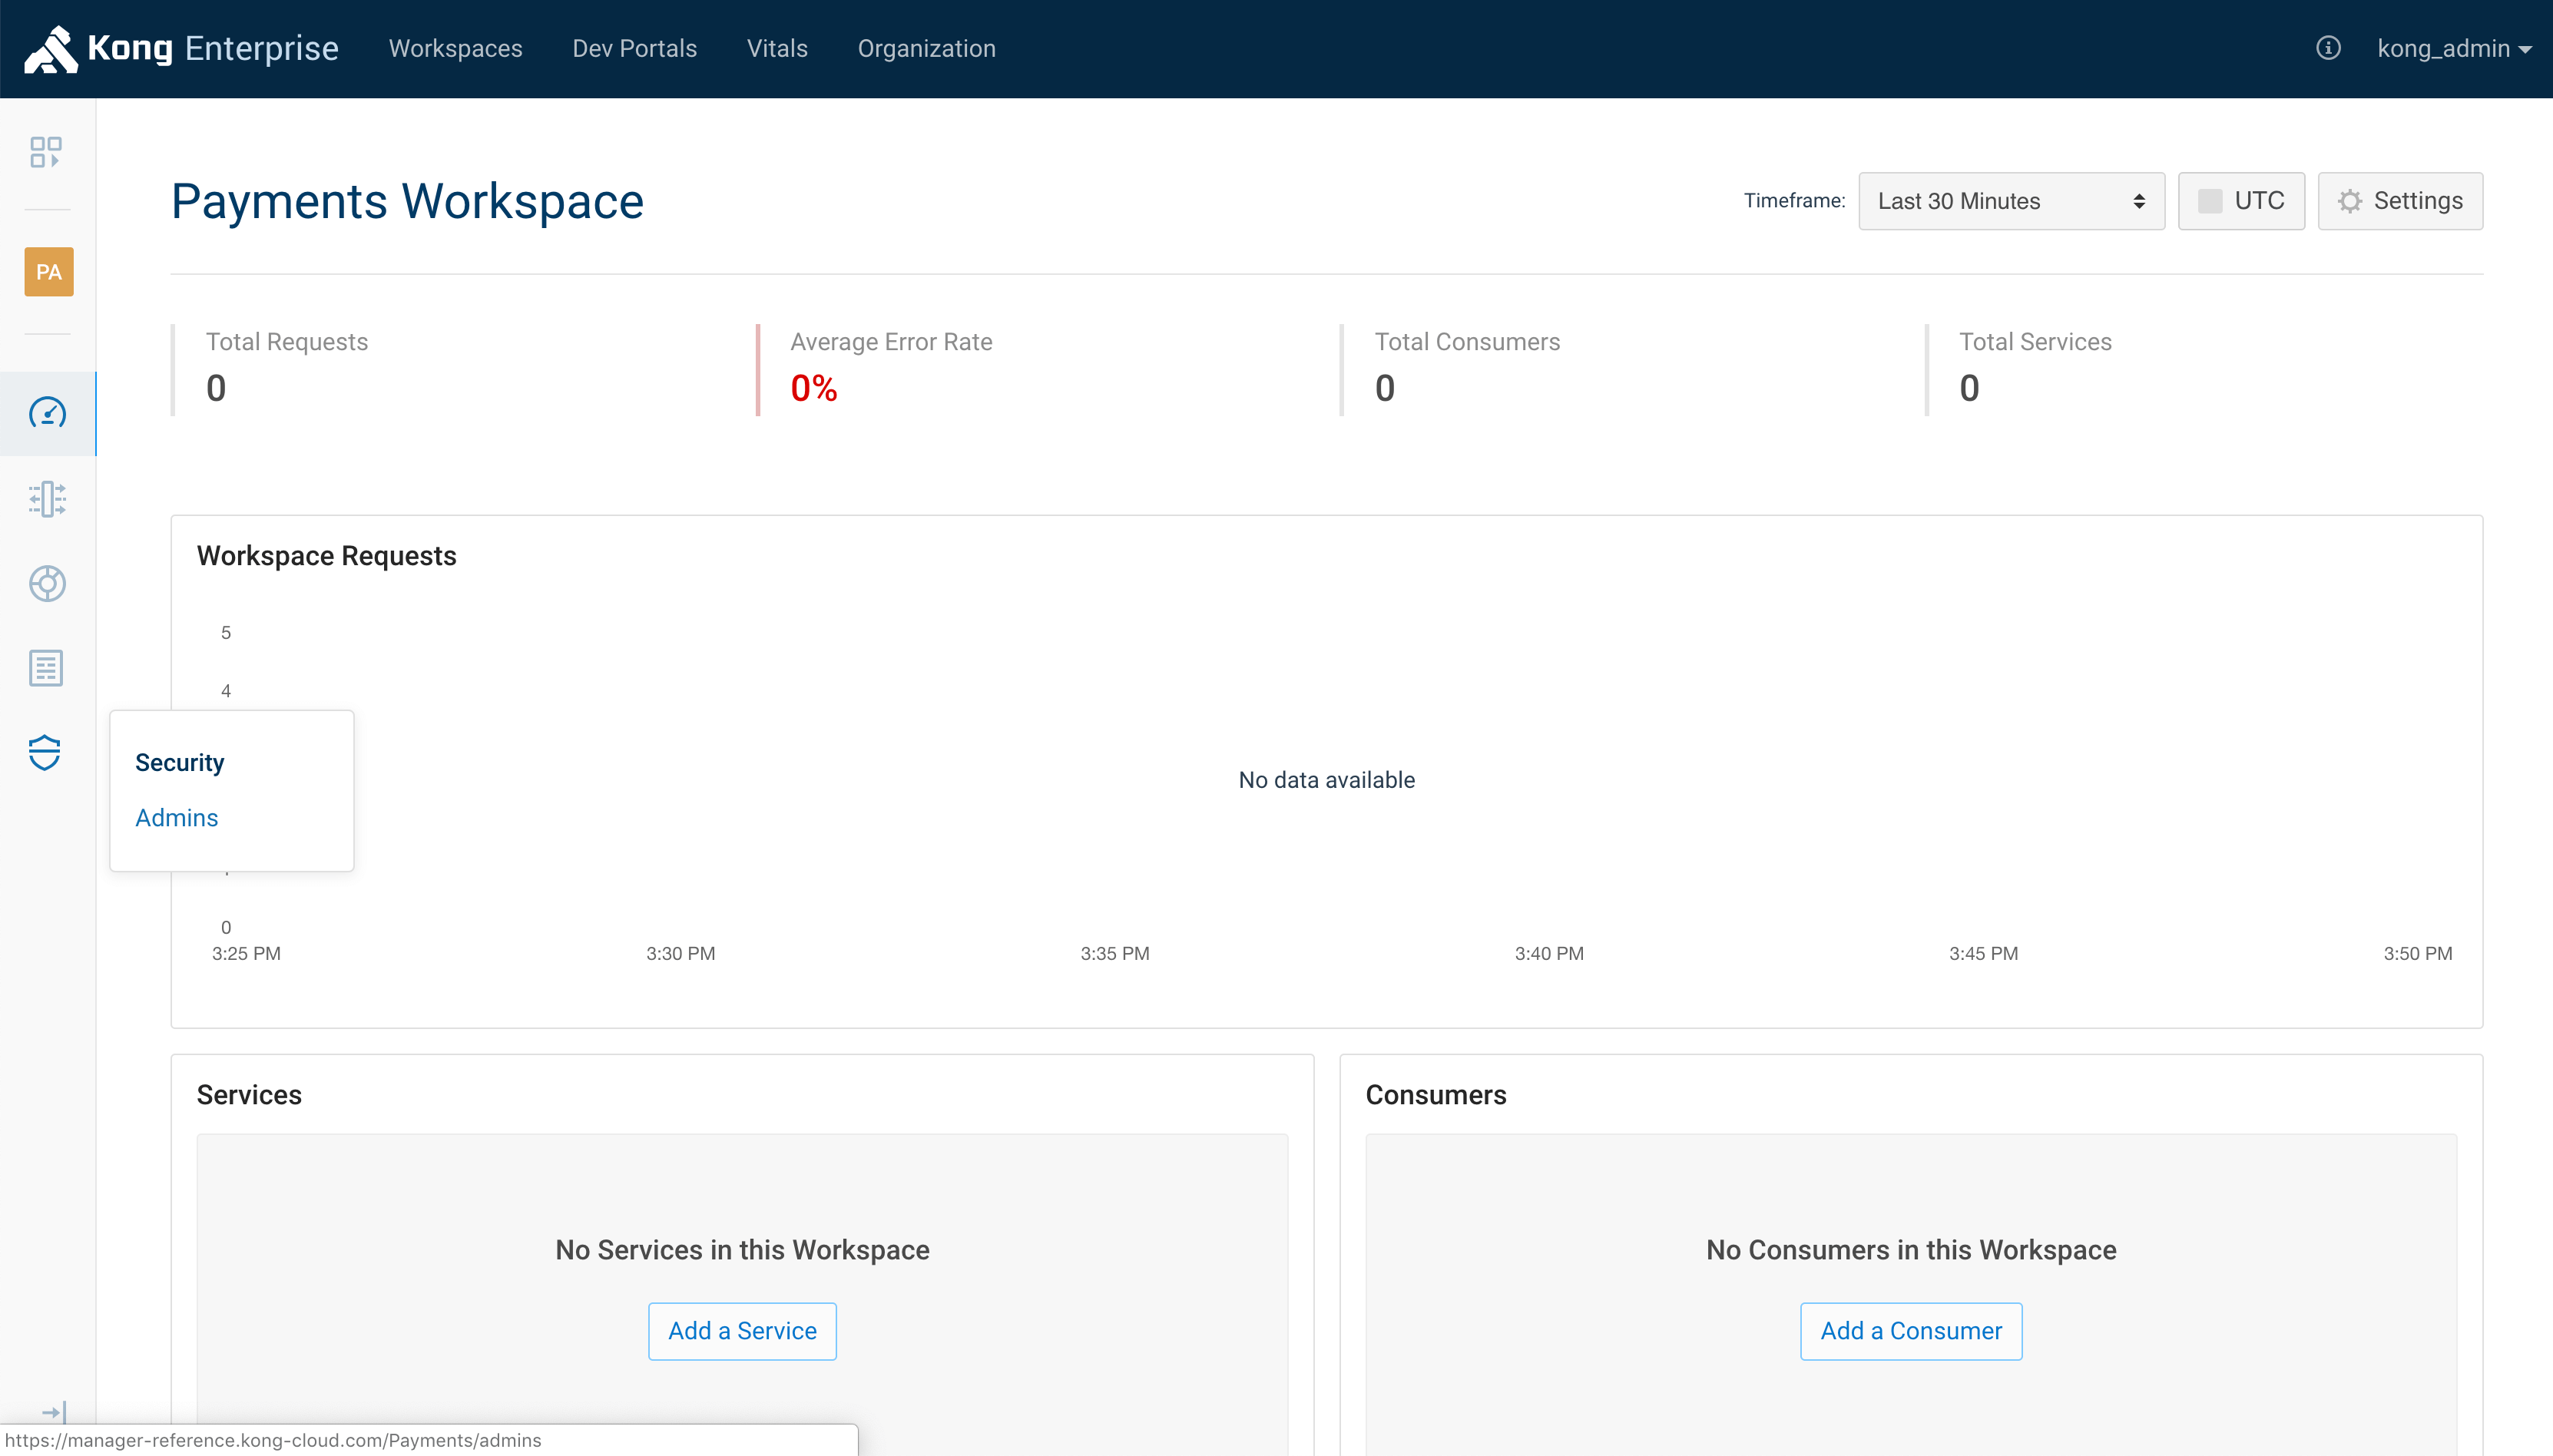
On the left sidebar, click the Admins link in the Security section. (If the sidebar is collapsed, hover over the security badge icon at the bottom and click the Admins link.)
PermalinkNext Steps
The Admins page displays a list of current Admins and Roles. Four default Roles specific to the new Workspace are already visible, and new Roles specific to the Workspace can be assigned from this page.